Saturday 15 August 2015

Hints of Spring and Madness

From my trials yesterday I got to thinking about colours and came up with this, this morning. Yes Spring Madness is definitely on its way.

I have a solid board and have padded it with old blankets, then covered it in calico. If I do more of these I may have to consider making up a smaller board for ease of using in small areas.

Hope you give this a try, experiment more and let me know how you went, and have as much fun as I did. Enjoy


These are what I buy when the Craft Show comes, it is the only time I get such a wide variety to choose from. I placed it on cardboard so it would stay firm. Next time I will use some temporary adhesive or a non- slip piece under it so it won't slide

Pin fabric over top and pin it to stop from moving

Carefully use medium - here I use Shirva Paint Sticks - and rub increasing pressure to get a firm 'print'

Carefully add other colours

After adding colours and playing around a bit, this is the result. Not bad for a first time and took very little time

Friday 14 August 2015

Making Your Own stencils

l use thin cardboard that is A4 size. This gives the solid base that is needed for the stencils.

Next I print out silhouettes, pictures etc  some from copyright sites, and some I design myself. I also find the cardboard designs that are used in scrapbooking are great as well. Just lay them on your printer and print out. I buy a cheap contact as it isn't that thick and cover the cardboard, both sides - that is important - it must be covered both sides!


I have a large floor tile I use for cutting on.

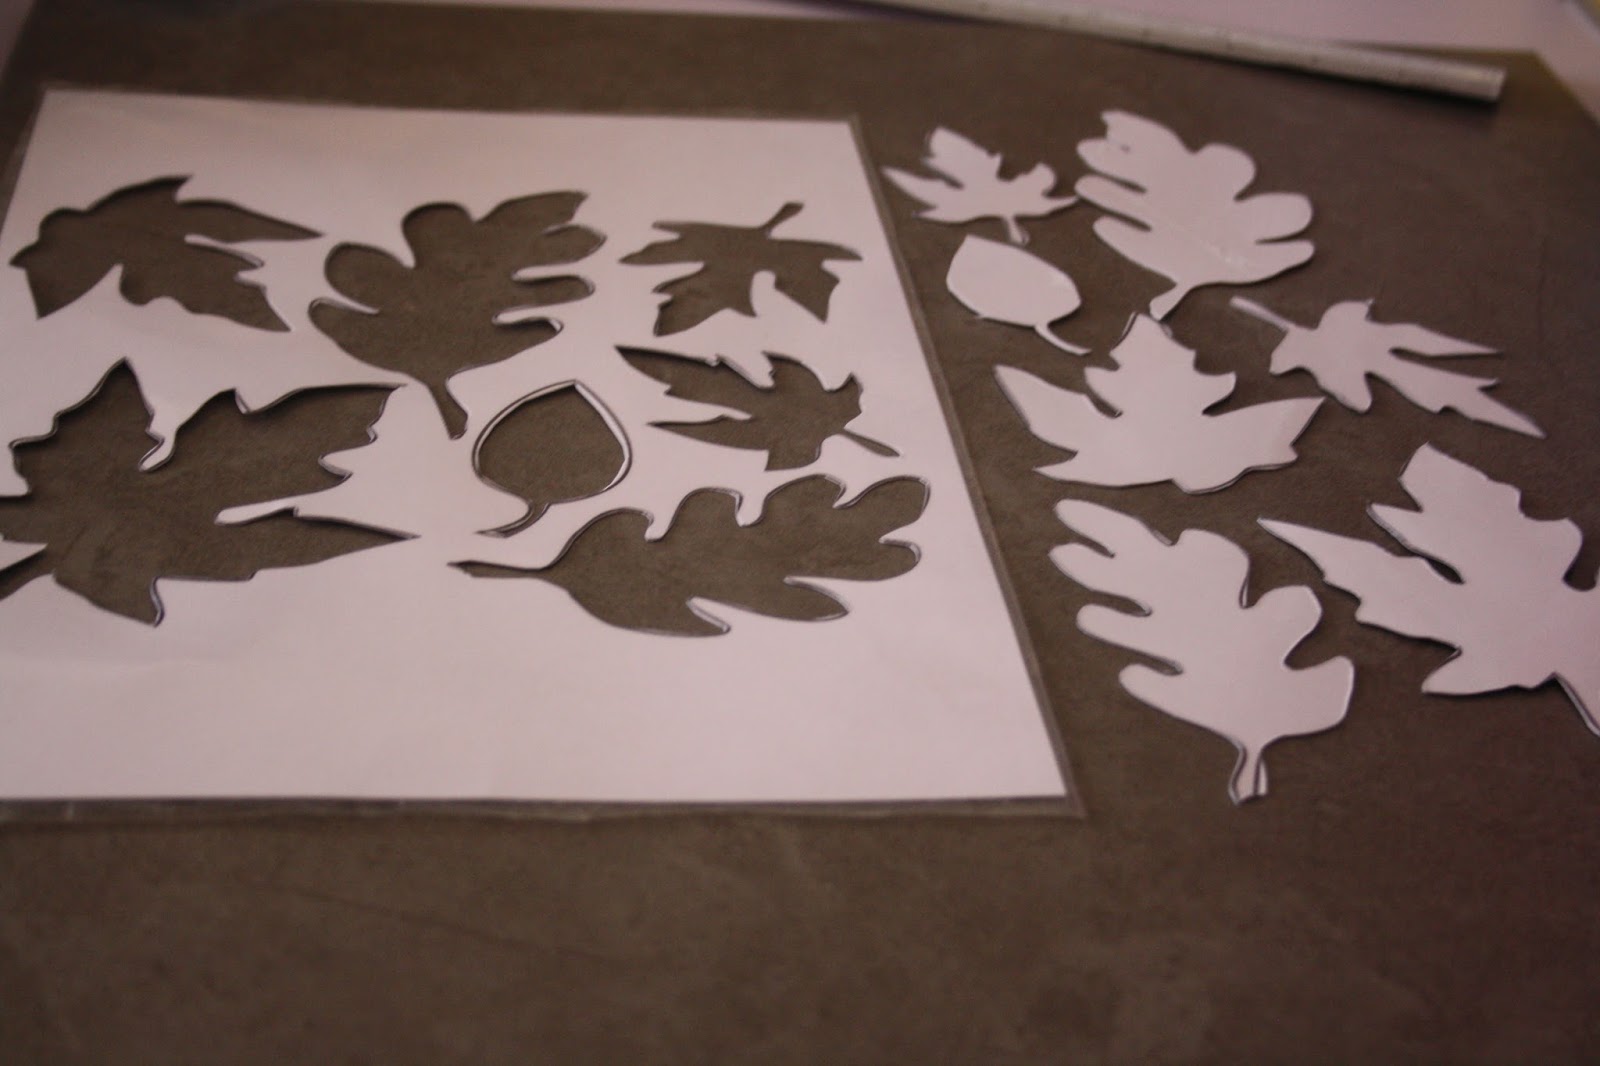
Using a sharp cutting tool carefully cut around the design, rotating the cardboard as much as possible, instead if the cutter. The cardboard is easier to move because the contact is on both sides as slides easier.

With designs that have inner pieces leave 'bridges' of contact to hold it to the main design

Making your own Stamps or Rubbings

One of my favourite places to go when the craft fairs are on is the 'Twiddily Bits'  (not sure what it is called) where they sell all these incredible pieces that you turn into beautiful pictures etc.

But for me it is a haven for shapes that I can turn into stencils, stamps or rubbing plates. This is how I use them as stamps and rubbings. I also get those stickers you buy for cards and scrapbooking.


Firstly I glue them onto Balsa Wood. I am experimenting at the moment on sealed or unsealed stickers. Clear gesso or white gesso is another experiment for ease of cleaning.


Butterfly sticker unsealed, chandelier using clear gesso
 

You can use a hoop or just hold I found a hoop made it easier to hold still. The one on the left is using a stencil brush to rub the oil stick on, the one on the right is rubbed straight on


On this one I rubbed the oil stick straight onto the stamp and then placed the material onto it and rubbed over it, the top is unhooped, the bottom hooped. Then wiped the stamp down with Mineral Turps, then rinsed in warm soapy water. As the pieces are previously sealed it doesn't damage the stamp


 Above is just a quick experiment with different techniques, if I was going to use any of the pieces I would take care but this was just a morning in the sun playing with an idea

Sunday 28 June 2015

Fun with lace

It has been quite awhile since I  did a post. Moving and falls have kept me busy - or not busy - in the last few months. I am slowly coming back into letting my creative muse have some fun.

I haven't made the time to sit down with my dye book and work out smaller measurements of dye as yet but I wanted to play with lace and the different fabric pencils etc I had so here are the results.

The final picture is of the Paint sticks lace hand washed, the single motif came out well but the lace piece also turned out. It depends on what you are looking for. (for some reason I couldn't type next to the picture this time - go figure ;) )

In all of the trials the lace kept a soft hand which I was pleased about, especially if you want to use the pieces for Crazy Quilting or similar

I hope to try other ways to colour lace and will keep you updated

I hope you enjoyed this post and that it may encourage you to also play with these and other techniques, if you do please let me know how it went