Tuesday 16 September 2014

Using washaway for your Art, Sculptures and much more

I use washaway for my free standing lace. That is it sews out the design and then you wash it and the 'material' dissolves in hot water leaving the design.

When I first got the washaway I wanted to make a cobweb overskirt.

(I thought I had lost the pictures but came across them while checking out some of my pictures downloaded onto my computer a few years ago.)

So here it is.

Using two layers of washaway for stability, draw your design.


Then using your sewing machine, sew with straight stitch. firstly up and down each line at least 2 or more times. I think I did about 3 or 4 to be safe.  then go around the outside lines doing the same.
 
Next change your stitch to zigzag and repeat. If you want it thin only do it 1 or 2 times, if thick do it as many times as you want.
 
 
This will be what it looks like when you have finished.
 
then hand washing it or soaking it in water (depending on what type of washaway you use, some dissolve in cold, some only dissolve in hot) and rinsing it a few times.
 
Lay it out flat to dry


And this is what you will end up with a beautiful spidery lace for your designs.
 
I did this for a doll, but it can be made bigger or smaller depending on what you want to use it for.
 
And the other ways to use washaway are "Only restricted by your imagination"


Printing on your own fabric

I wanted to experiment with just plain material and various texture mediums to see what would work. This was instead of having to buy them all the time.

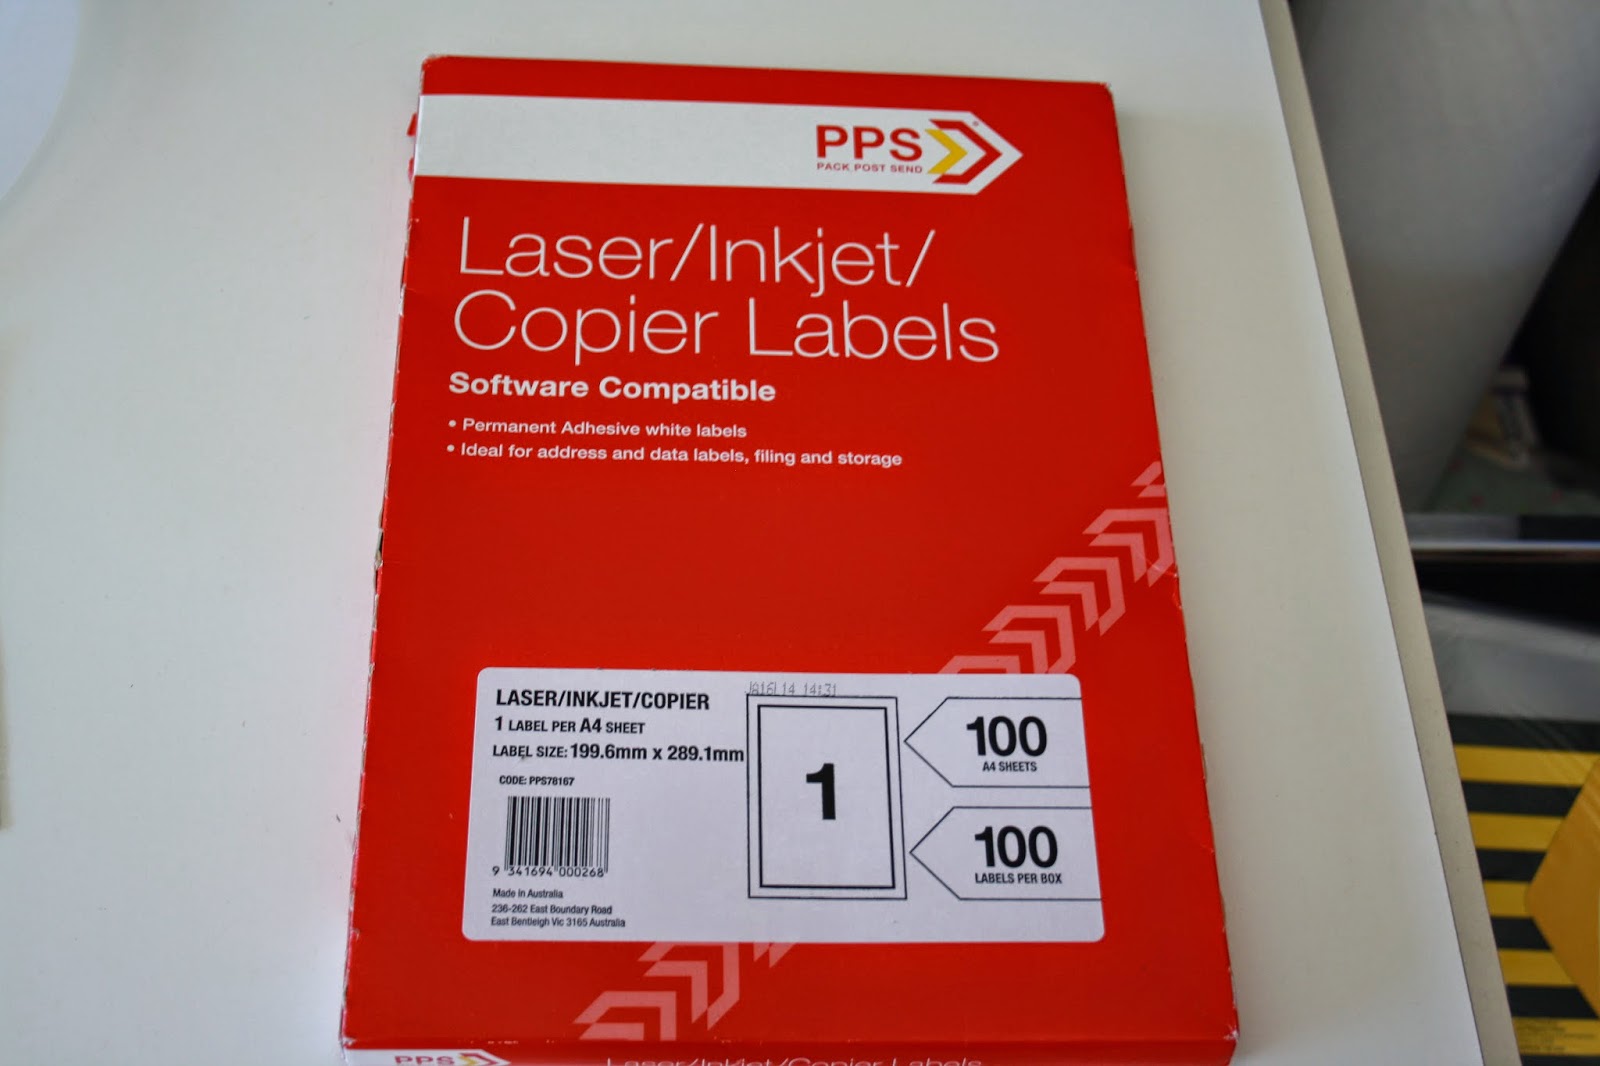
Firstly I brought these print labels

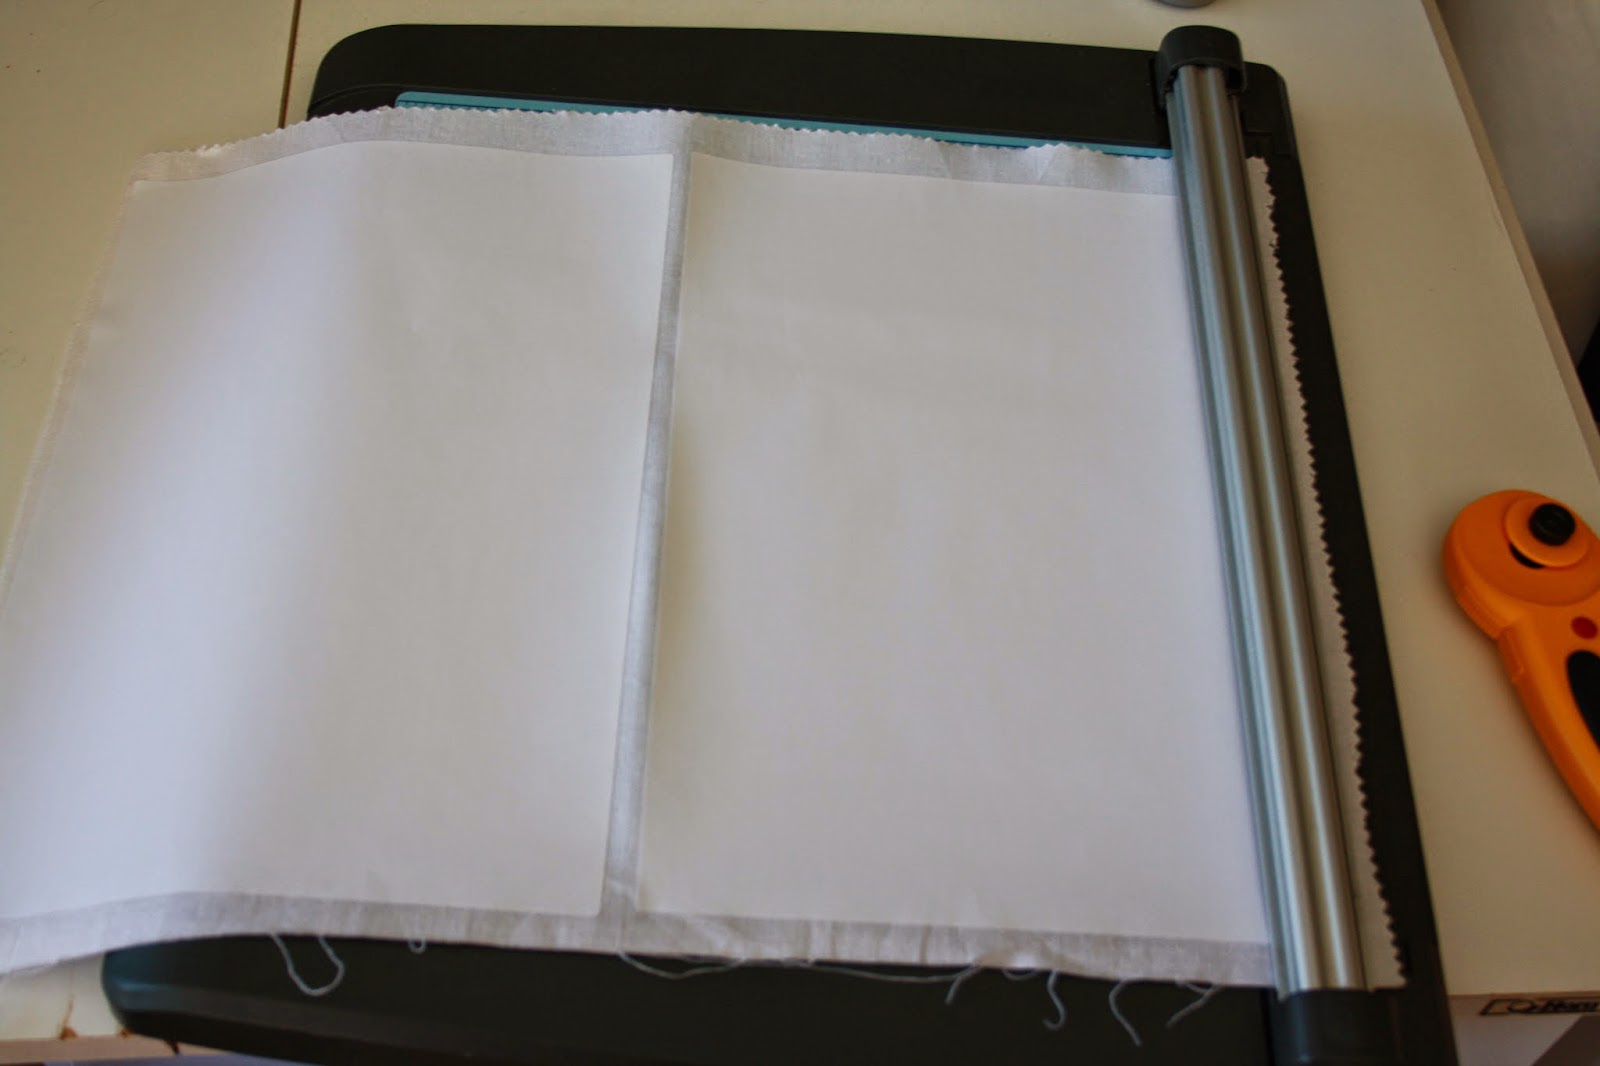
I washed and ironed plain white fabric, and then taking the front off the label and laying the sticky side up,  -or you can lay the material flat and press the sticky side onto it - carefully lay the fabric on top of the sticky and press firmly, running the side of your hand along the material to smooth out.


Then trim off the excess material with a sharp rotary cutter, I use the cutter as a guide and for safety.
Print out as you would normally. The sticky stops the material from lifting and jamming in the printer.

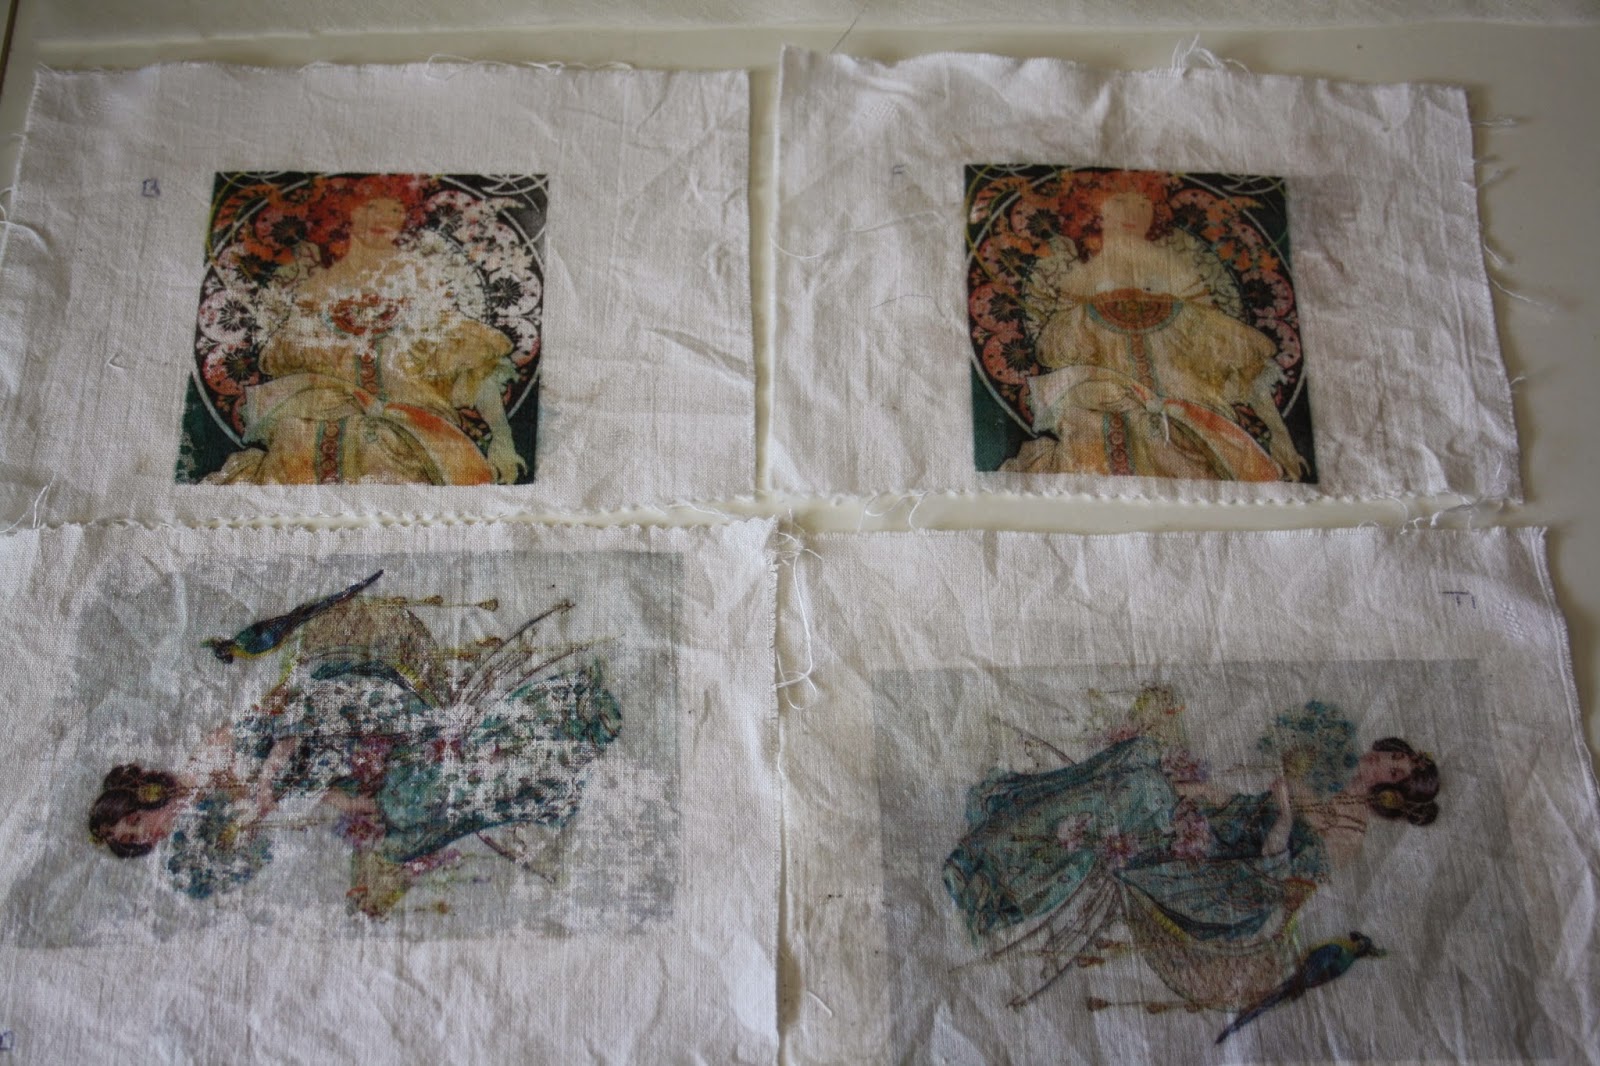
Take the backing off and as I was experimenting I marked F & B on mine and then separated them.


I then spread textile medium ( I had this on hand you can always try a different brand) on the front and back as marked and let dry. I left them for a few days. Hand washed them, let them dry and then then ironed between two pieces of printer paper. Wasn't too concerned about the outer material not smoothing out too much. Don't iron straight on the printed material or the iron will stick, I tried it on the corner so I would know if it would.
 
The result is very telling. The one with the medium on the back didn't preserve the print. BUT that may be because the material was thick and didn't come all the way through! the ones with the medium on the front kept the picture intact,
 
This was just the first try, and next time I will experiment with other coloured material, and will take my designs to somewhere I can print out laser prints and photocopy them onto the material as a laser print comes out deeper coloured.
 
Please feel free to continue with this yourself and let me know how you go and most of all have fun, I know I did