Firstly I brought these print labels
I washed and ironed plain white fabric, and then taking the front off the label and laying the sticky side up, -or you can lay the material flat and press the sticky side onto it - carefully lay the fabric on top of the sticky and press firmly, running the side of your hand along the material to smooth out.


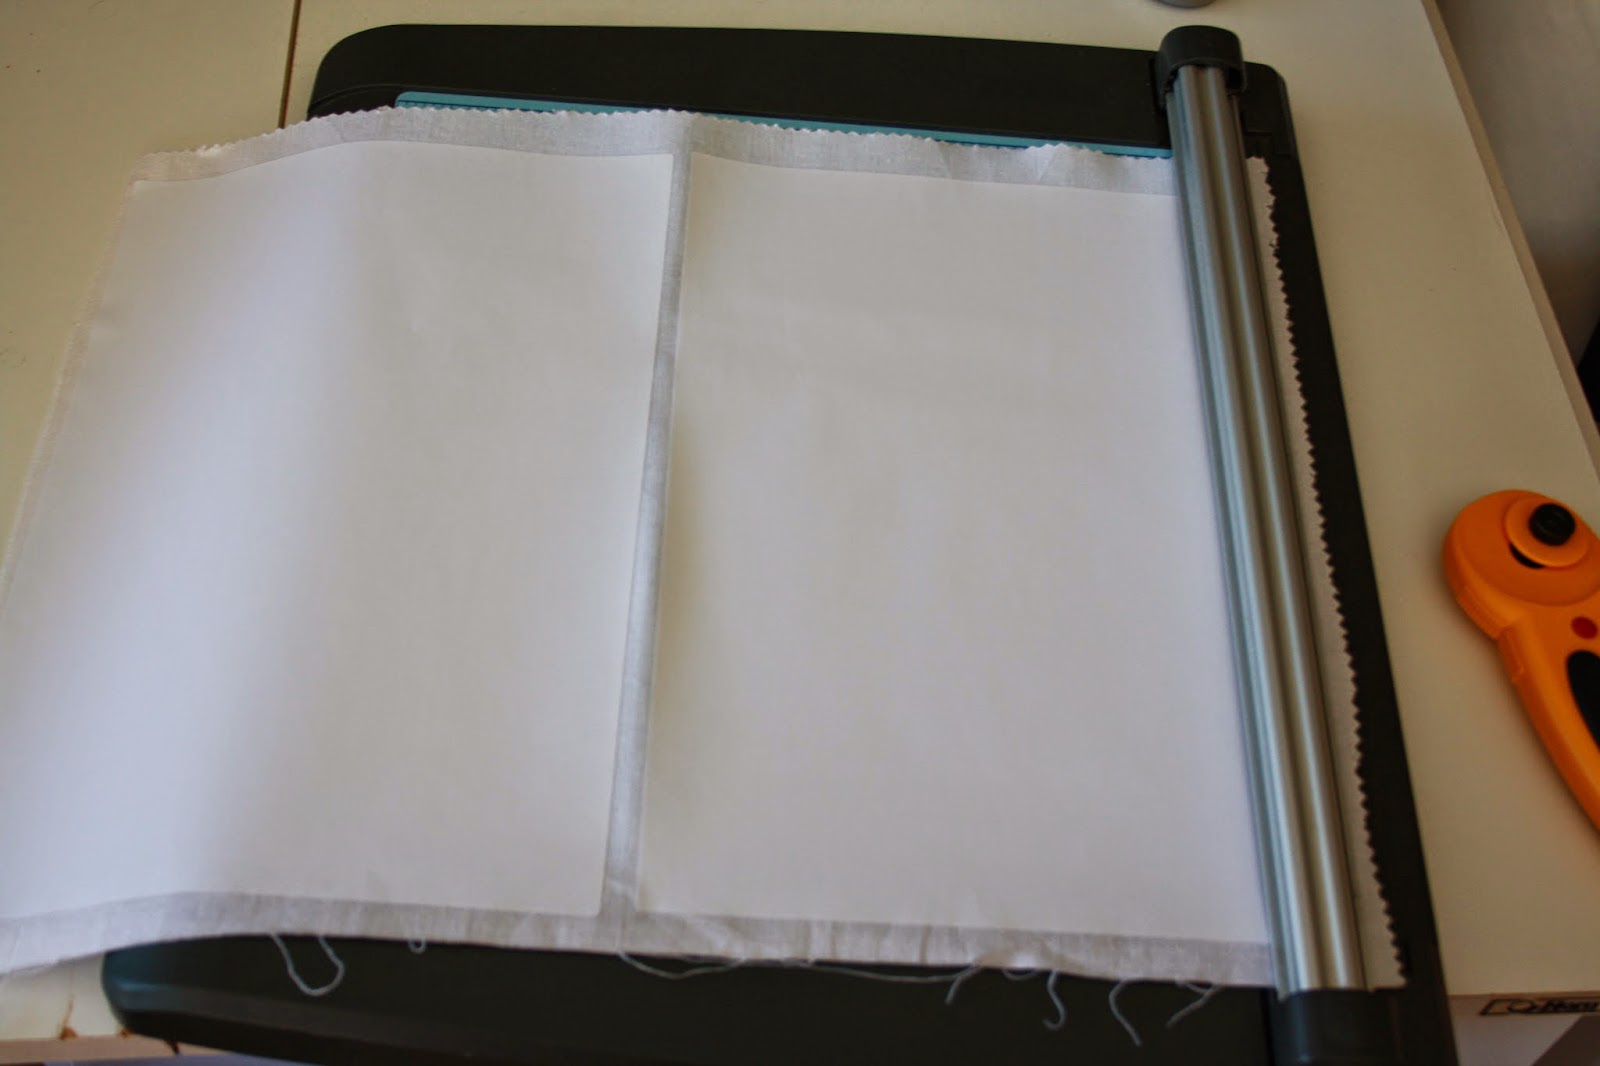
Then trim off the excess material with a sharp rotary cutter, I use the cutter as a guide and for safety.
Print out as you would normally. The sticky stops the material from lifting and jamming in the printer.

Take the backing off and as I was experimenting I marked F & B on mine and then separated them.


I then spread textile medium ( I had this on hand you can always try a different brand) on the front and back as marked and let dry. I left them for a few days. Hand washed them, let them dry and then then ironed between two pieces of printer paper. Wasn't too concerned about the outer material not smoothing out too much. Don't iron straight on the printed material or the iron will stick, I tried it on the corner so I would know if it would.
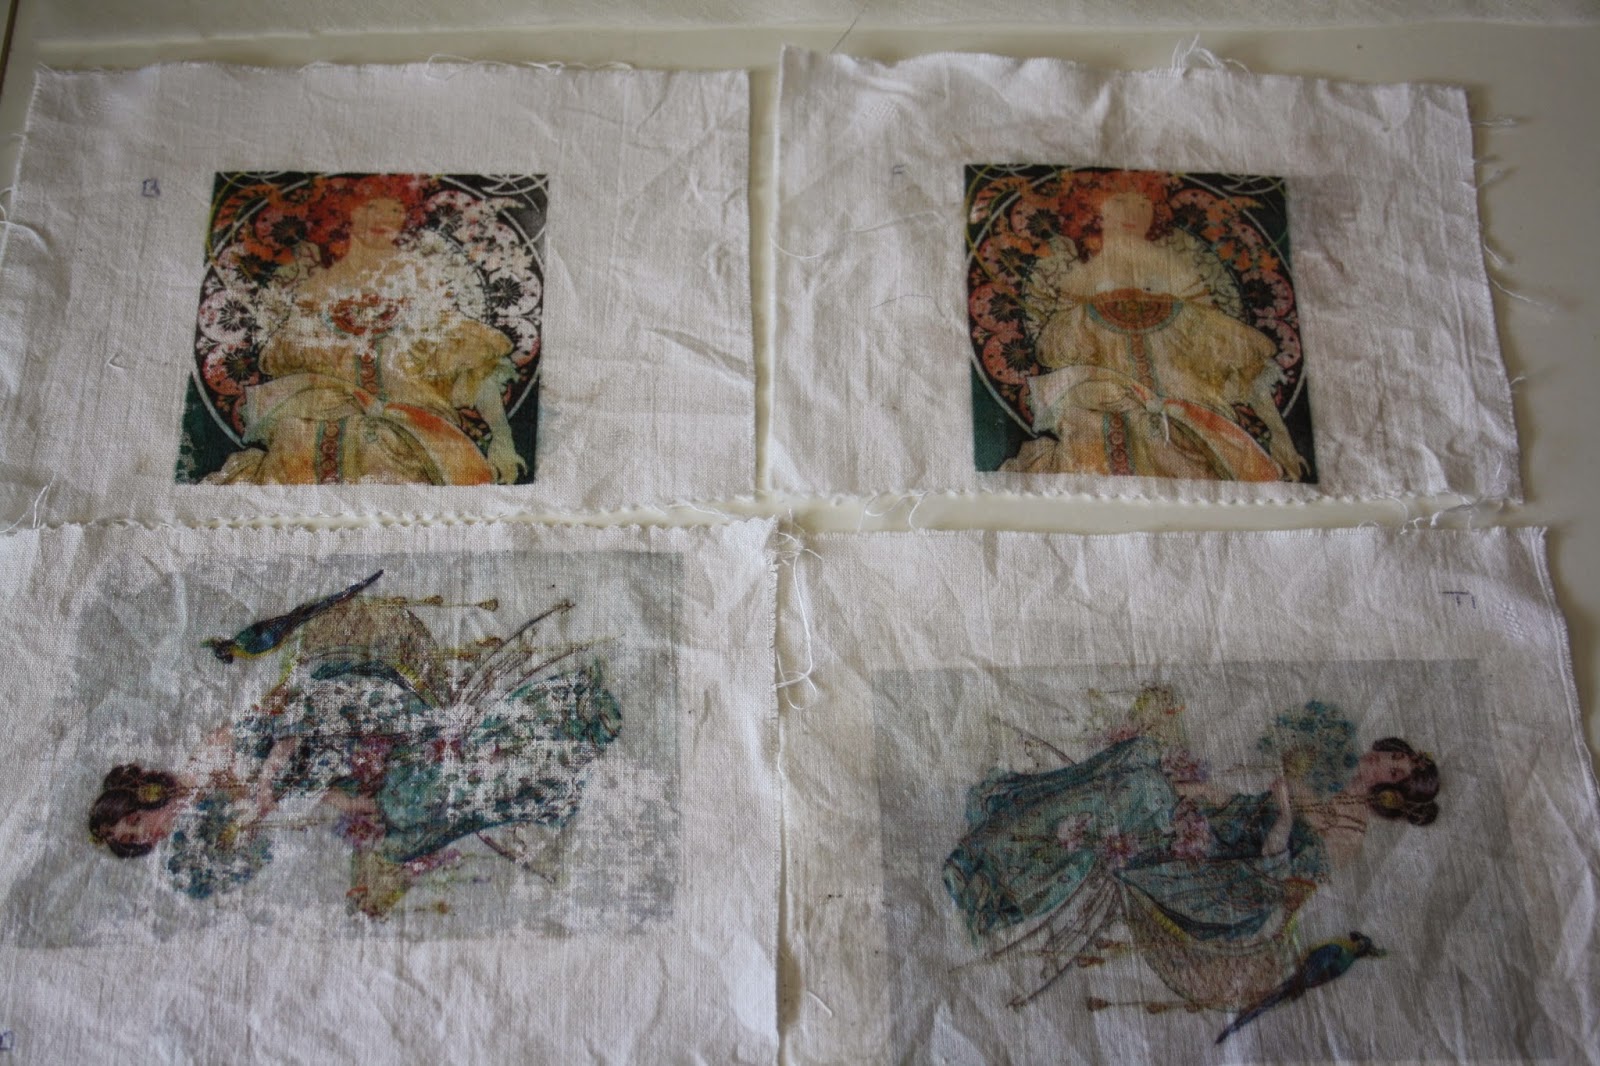
The result is very telling. The one with the medium on the back didn't preserve the print. BUT that may be because the material was thick and didn't come all the way through! the ones with the medium on the front kept the picture intact,
This was just the first try, and next time I will experiment with other coloured material, and will take my designs to somewhere I can print out laser prints and photocopy them onto the material as a laser print comes out deeper coloured.
Please feel free to continue with this yourself and let me know how you go and most of all have fun, I know I did
No comments:
Post a Comment