Saturday, 15 August 2015

Hints of Spring and Madness

From my trials yesterday I got to thinking about colours and came up with this, this morning. Yes Spring Madness is definitely on its way.

I have a solid board and have padded it with old blankets, then covered it in calico. If I do more of these I may have to consider making up a smaller board for ease of using in small areas.

Hope you give this a try, experiment more and let me know how you went, and have as much fun as I did. Enjoy


These are what I buy when the Craft Show comes, it is the only time I get such a wide variety to choose from. I placed it on cardboard so it would stay firm. Next time I will use some temporary adhesive or a non- slip piece under it so it won't slide

Pin fabric over top and pin it to stop from moving

Carefully use medium - here I use Shirva Paint Sticks - and rub increasing pressure to get a firm 'print'

Carefully add other colours

After adding colours and playing around a bit, this is the result. Not bad for a first time and took very little time

Friday, 14 August 2015

Making Your Own stencils

l use thin cardboard that is A4 size. This gives the solid base that is needed for the stencils.

Next I print out silhouettes, pictures etc  some from copyright sites, and some I design myself. I also find the cardboard designs that are used in scrapbooking are great as well. Just lay them on your printer and print out. I buy a cheap contact as it isn't that thick and cover the cardboard, both sides - that is important - it must be covered both sides!


I have a large floor tile I use for cutting on.

Using a sharp cutting tool carefully cut around the design, rotating the cardboard as much as possible, instead if the cutter. The cardboard is easier to move because the contact is on both sides as slides easier.

With designs that have inner pieces leave 'bridges' of contact to hold it to the main design

Making your own Stamps or Rubbings

One of my favourite places to go when the craft fairs are on is the 'Twiddily Bits'  (not sure what it is called) where they sell all these incredible pieces that you turn into beautiful pictures etc.

But for me it is a haven for shapes that I can turn into stencils, stamps or rubbing plates. This is how I use them as stamps and rubbings. I also get those stickers you buy for cards and scrapbooking.


Firstly I glue them onto Balsa Wood. I am experimenting at the moment on sealed or unsealed stickers. Clear gesso or white gesso is another experiment for ease of cleaning.


Butterfly sticker unsealed, chandelier using clear gesso
 

You can use a hoop or just hold I found a hoop made it easier to hold still. The one on the left is using a stencil brush to rub the oil stick on, the one on the right is rubbed straight on


On this one I rubbed the oil stick straight onto the stamp and then placed the material onto it and rubbed over it, the top is unhooped, the bottom hooped. Then wiped the stamp down with Mineral Turps, then rinsed in warm soapy water. As the pieces are previously sealed it doesn't damage the stamp


 Above is just a quick experiment with different techniques, if I was going to use any of the pieces I would take care but this was just a morning in the sun playing with an idea

Sunday, 28 June 2015

Fun with lace

It has been quite awhile since I  did a post. Moving and falls have kept me busy - or not busy - in the last few months. I am slowly coming back into letting my creative muse have some fun.

I haven't made the time to sit down with my dye book and work out smaller measurements of dye as yet but I wanted to play with lace and the different fabric pencils etc I had so here are the results.

The final picture is of the Paint sticks lace hand washed, the single motif came out well but the lace piece also turned out. It depends on what you are looking for. (for some reason I couldn't type next to the picture this time - go figure ;) )

In all of the trials the lace kept a soft hand which I was pleased about, especially if you want to use the pieces for Crazy Quilting or similar

I hope to try other ways to colour lace and will keep you updated

I hope you enjoyed this post and that it may encourage you to also play with these and other techniques, if you do please let me know how it went


Friday, 12 December 2014

My 'Not a New Years Resolution!' Resolution

Or when being organised isn't a creativity Killer.

I tend to flit from one project to another and back again, it is just how I am. but this can cause chaos when you are as disorganised as I have been.

It has gotten worse since getting onto Facebook and connecting with like minded people, and being inspired by their work, and being encouraged by them to be all that I can be.

So how can I do 'everything' and not go insane? I have tried a few times to be organised but there was something missing each time. Now I think I have hit on a way to be able to be organised and not kill creativity.

When spring finally hit this December I had all these projects I wanted to do, but got frustrated when I couldn't find the bits for the project. Or had to wait around for the base of my work to dry so I could start my 'real' project.

So I decided to get 'organised'. I wanted to put everything I would need for each project into bags. First I used the 'lunchbag' style storage bags with the ziplocks. But they kept sliding under other projects, cardboard as an insert helped, and you may find this a great way to start off putting things together at the beginning, but often they were not solid enough for the things that I had collected, or large enough.

I had some of the blanket bags you buy blankets in that have a zip, and these are fantastic for very large projects, but I didn't have many and some of the projects only needed small containers.

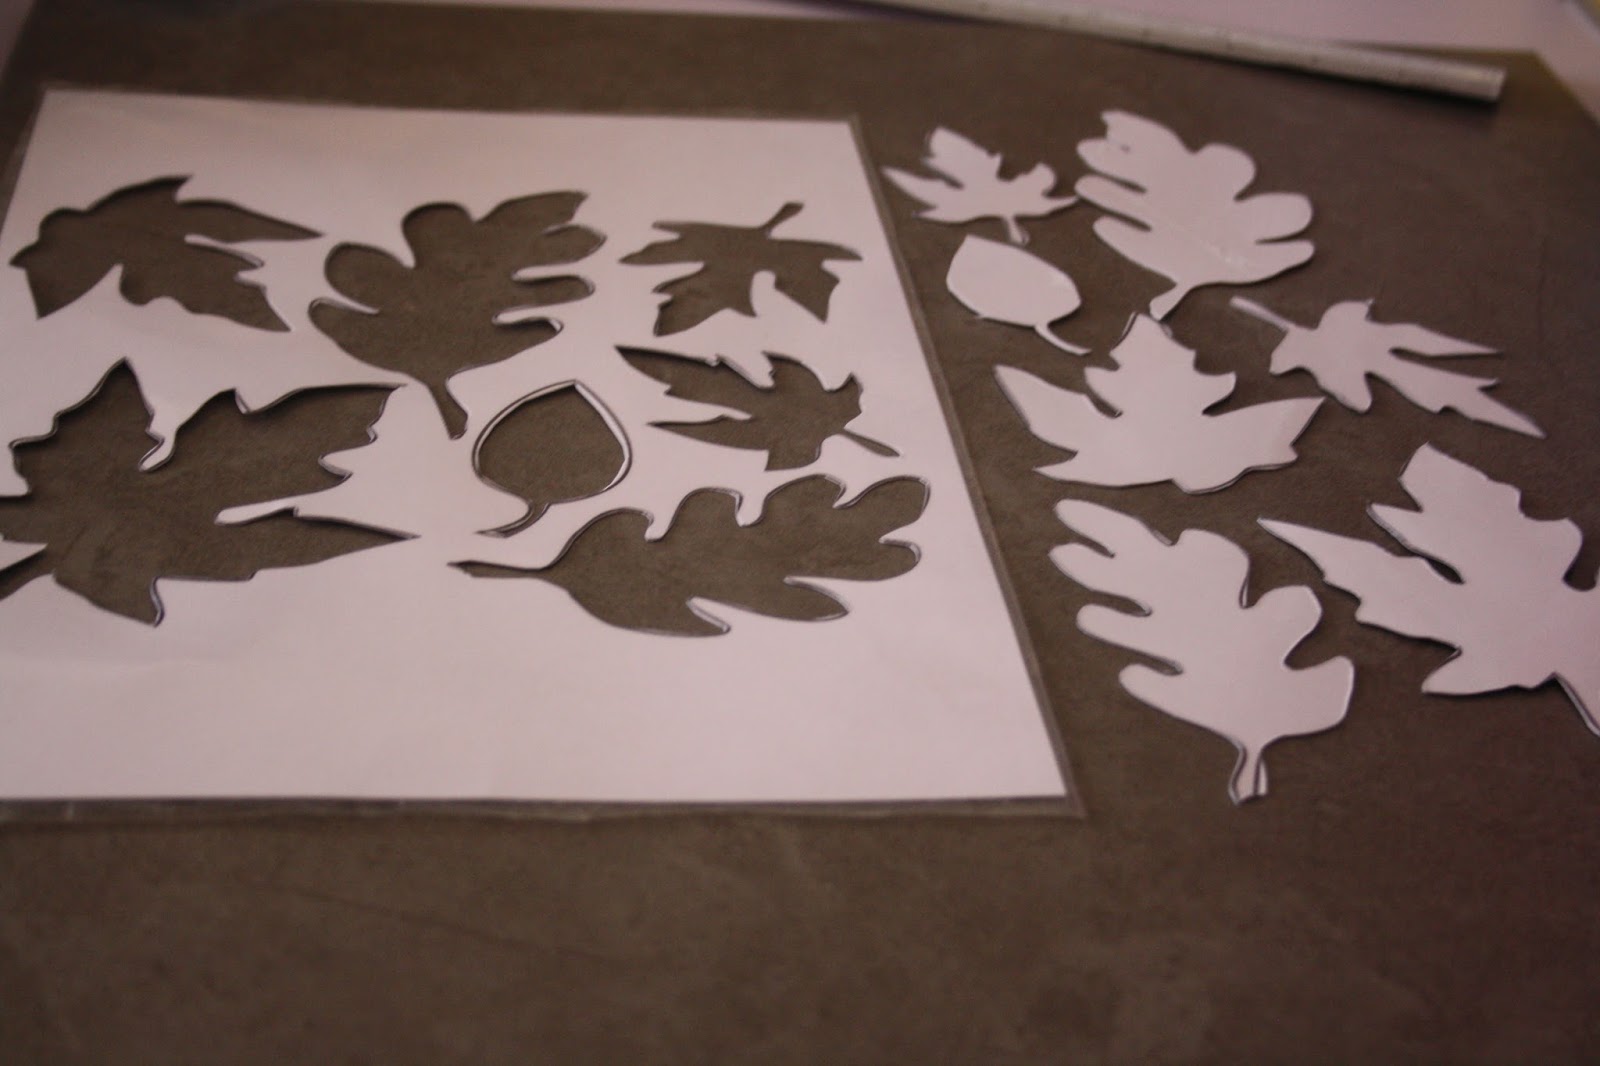
I went looking for the Scrapbook files but couldn't find any in the Variety stores and was ready to look for something else, until I went to the office supply store and there they were!

So now I am setting about getting things together.


This is some of the things I need for this 'Frog Wall-hanging' As I find the right colours in my hand dyed stash, I put it into here ready to use.


HAVING SUPPLIES ON HAND FOR THAT SPUR OF THE MOMENT PROJECT

Sometimes an idea hits, or you have a bit of time that you have squirreled away for yourself.  Nothing is more depressing than having to search for things, having to 'wait for something to 'dry' before you can go onto the 'fun' part, it kills the momentum and often your 'you' time runs out.

So here is a few tips that I have found handy before.

If you are doing a project with a long stretch of drying time, or you have a bit of time in between something else, not enough to start a project but enough time to do 'something' try this.  Especially if you have the gesso or whatever out at the time.


These are old dvd/cd holders that I am recycling into art folders. you can either keep the rings in or as with the black one I have removed the rings and will use scrapbook 'posts' and sew tabs onto the side of the project when completed.  These will then have a back put on where I can write what the piece is, how it was made and the supplies used. The folders themselves can also become works of art with a coat of gesso and your own personal touch of art. And can be zipped to keep your work safe.
 
I then made a heap of blank 'canvases' to work on as the inspiration hit me.

With these I cut a large amount of calico and interfacing (but you can do it the same as below if you want), and ironed them together. I have a top for the work and a bit of backing to firm up the material. This isn't necessary but it may be heavily embellished, or painted,  so I have done it this way as many of these will be used for sewing, painting etc.

 
With these I just got a few meters of calico and interfacing and ironed them together. I cut them out to a set size as these will all be starting pieces to new techniques and I wanted to keep them in the folders for protection. (You also don't have to cut them first, I just found it easier to do a few at a time). Then laying out a sheet of plastic on a table outside, I painted them with gesso. I could leave them to dry on the table and whenever I had a few minutes in between other things I would go out and paint a few more, or add another layer. Everything was there ready to just do it when I had a bit of time in between other things.
 
These are now ready to just grab when I need them. No waiting around for anything to dry so you can start. No more looking for things These are ready to go when the creativity muse hits you.
 
So being organized may not be such a bad thing after all. Even 'Her Majesty' approves, as much as she will approve of anything not involving her
 
I hope you have found this post useful, let me know how you go or message me for any additional information, and
 
Happy Creating


Thursday, 11 December 2014

Making your own stamps with bits and pieces around the house or cheap #1

I just got an excellent book by Lisa Walton, Creative Journeys, and she showed how to make stamps for your art work. Many people find it intimidating to carve, or just haven't got the grip they use to have. Others want intricate patterns, replicas of something and many other reasons why carving isn't always an option. Also finding money or the rubber for carving can also be hard.

Here are a few ideas to get you started on making your own stamps with your own designs. 

I go to the back of electrical appliance stores and they have sheets of white foam just being thrown out. Also large sheets of cardboard, either as boxes or the sheets protecting screens etc. I grab these, some pva glue and scissors and am ready to go.


This time of year in Australia, all the office supply stores are getting their 'Back to school supplies' ready. It is a great time to grab the extra large rubbers that seem to appear, and they are great for carving. these can be carved safely with carving tools, but my favourite is the Speedball Carver - which I tried to copy and paste a picture of but I am computer challenged and it didn't work.


This is a sticker that can be brought from a number of places. The reason it works so well is that it is one of those felt style stickers.  Great to put on a piece of foam. I didn't seal this one, as I wash it after every colour change. So far any old colours haven't come through.


This is just a set of wavy lines drawn onto the kids foam brought is small sheets. I cut along the lines spread them out and then added a scroll type flourish. Pva glued onto a piece of cardboard lying around, and onto the thick foam from packaging for a bit of grip.


These are the foam stickers you buy cheap at the store that the children play with. These ones have a sticky backing. Peel off the protection paper, stick onto leftover cardboard, Stick to packaging foam and seal with pva glue.


I tend to have a very ' give it a try' attitude, and I wanted to see what would happen if I ironed the thin foam sheets over metal embellishments. I used a protective baking sheet to cover the work. I tried laying the embellishment on top of the foam, laying the baking paper, folded a few times, over the embellishment and then layed and pressed the iron on it, and tried it the other way, both worked  The good thing about this is if the imprint doesn't come up enough, you just place it back in the grooves and repeat until the design shows.   I then cut around the crown and feather to get the outline. With the bicycle I stamped the design in the paint and then gently scraped off the excess paint with a old credit card to just get the bicycle.


This is one of those cardboard shapes used for scrapbooking, I wanted to use it but keep the shape for stamping. So again using children's foam sheets, I drew the shape and using thin small scissors cut it out, and kept both parts


In the children's section of many variety stores are the stickers that are nightlight stickers - or the 'glow in the dark stickers'. These can be stuck onto cardboard, and used as another type of stamp. If you find the paint etc slides off, either sand with glass sandpaper or use a fine grit gesso paint and paint over the entire pieces.  If you do this you need to make sure you let it dry well, and when you use it wipe it off straight away


This is a colouring in picture that I printed out, cut out the fence, rescanned and enlarged. I then printed it out cut around it and drew onto the children's foam.  Using this idea opens up a whole new world of possibilities.
 
As you can see there is no limit to your designs, if you are just willing to look at everything with new eyes. Hope you enjoyed this blog and I will try to update more often now that warm weather and getting outdoors and making a mess are possible again